New Workspace Configuration
This chapter describes how to configure a new winIDEA workspace and/or automatically preset detailed CPU settings for various Target Boards.
|
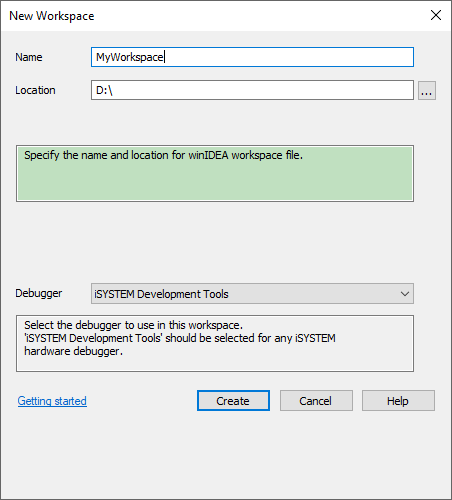
Create a New Workspace. |

Make sure iSYSTEM Development Tools is selected if you work with iSYSTEM BlueBox.
You can also create new workspace via File / Workspace / New Workspace.
 |
|
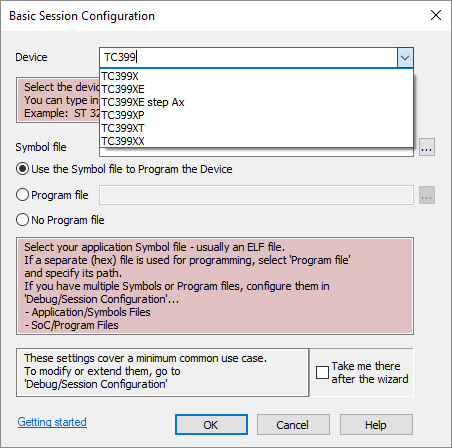
Select the Device. |

Start typing on the Device field parts of Device's name to quickly narrow down the search.
You can use vendor's naming as well, e.g. Traveo, Chorus, Bolero, Kinetis, F1KM.
 |
|
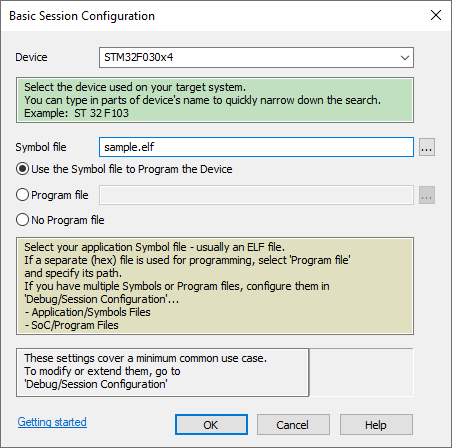
Add Symbol (and Program) file. |

One download file?
Add the Symbol file (usually ELF) and make sure the Use the Symbol file to Program the Device is checked.
Symbol file and a Program file?
Add the Symbol (usually ELF) and the Program file (usually S).
Your target doesn't need any Program files?
Check the No Program file if you don't want to load any content to your target.
Multiple download files?
Configure them in Debug / Session Configuration. Check the Take me there after the wizard button.
•Program files in SoCs / Program Files
•Symbol files in Application / Symbols Files
 |

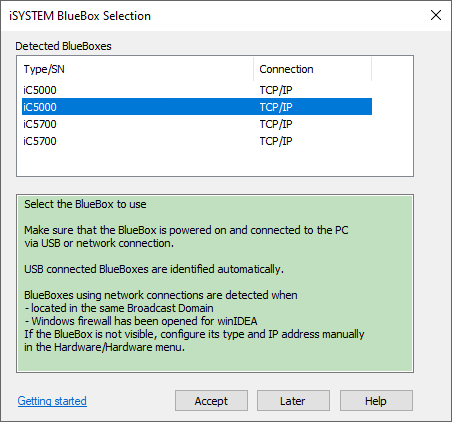
winIDEA will automatically detect connected and powered-on BlueBoxes.
 If the debugger is not visible, configure the IP address manually...
 |
 |
If you use an Active Probe, make sure you configure it. Refer to chapter winDEA Configuration / Active Probe for more information. |
|
(optional) Select your Probe. |

System refers to the connection via BlueBox connectors.
 |
|
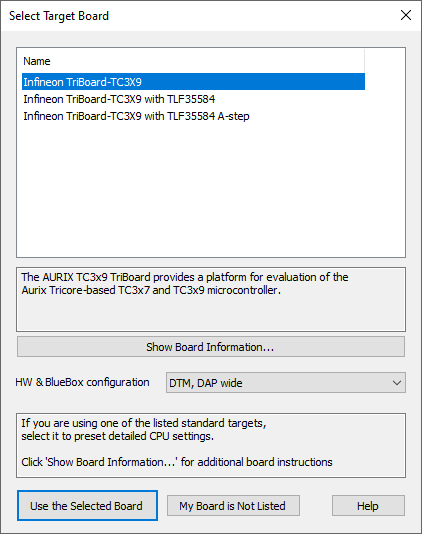
(optional) Preset your Target Board. |

Select your Board and press Use the Selected Board to automatically configure CPU settings.
Note that by default winIDEA uses DAP connection for Infineon AURIX devices.
For additional information about Target Board setup press Show Board Information.
 |