Grounding wire
This chapter describes the importance of the Grounding wire and how to connect it to the BlueBox and the Target.
Why is the Grounding wire important?
In case of the on-chip emulation, it has been proven that a development tool can be damaged at the moment when the debugger's debug connector is plugged into the target system when neither the target nor the emulator are powered up yet. At this point in time, there could be ground potential difference between the emulator and the target way over 1000V. Such voltage difference is then discharged over the debugger and the target, which can destroy electronic components of the debugger and/or the target.
Connecting a dedicated Grounding wire between the development tool system and the target before the target debug cable adapter is connected to the target, improves robustness of the development system hardware and resistance to the mentioned electrical discharge problem - despite the fact that the development system hardware features already quality protection on all connecting signals.
The voltage difference can be introduced by:
- Power supply (target, debugger), which does not have the power outlet ground connected with the power supply ground.
- Power outlets which have different ground potentials.
- PC, when the BlueBox connects to the PC through the USB port.
|
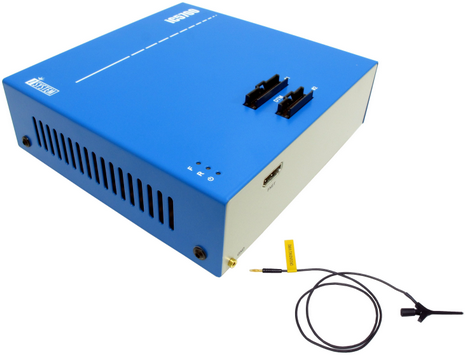
Connect the Grounding wire to the BlueBox. |

Grounding wire connector pin is located on the front panel of the BlueBox and marked with GND.
|
|
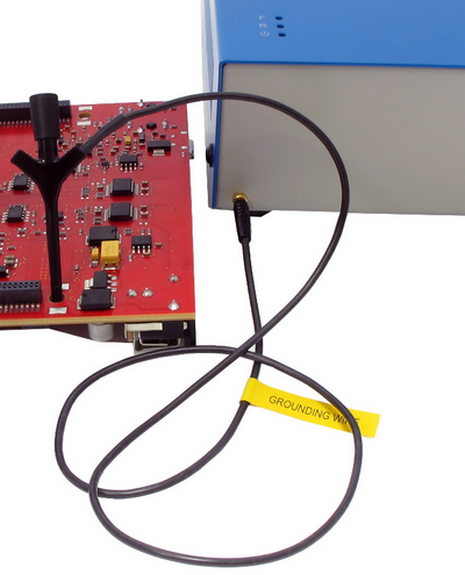
Locate ground potential (GND) on the Target. |

Connect the test clip of the Grounding wire to the Target.
|